Overview
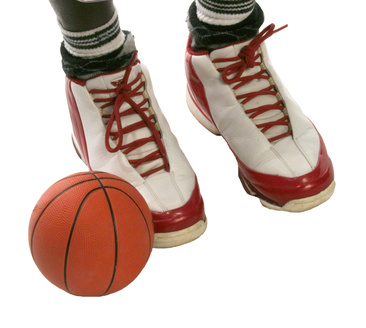
When playing basketball, shoes that give you the proper support can help keep you injury-free on the court. Minimize tripping and help elevate your performance by learning the right way to lace your basketball shoes for both high and low arches. While many basketball shoe manufacturers will tell you a more expensive shoe can help you play better, it might only be your laces that give you the competitive edge.
Low Arches
Step 1
Tie your shoes tightly for better support when you have low arches. Start by threading the lace straight across the bottom eyelets, pulling until there is an equal amount of lace on either side of the shoe.
Step 2
Thread the left side of your laces through the right eyelet in a diagonal pattern. Thread the right side of the laces through the left eyelet. Continue this pattern all of the way up the shoe, so that the tongue of your shoe is crisscrossed all the way to the top.
Step 3
Thread the laces through the last two eyelets without crossing. This means that on your last eyelet, you'll thread the right lace through the right eyelet and the left lace through the left eyelet. Don't pull tight; instead, leave a loop, Dick's Sporting Goods recommends.
Step 4
Cross the shoe once more with the laces, threading the left lace through the right loop that you've made. Complete the same on the right lace. Pull tightly and tie in a double knot to keep secure. Tuck the bow under the laces so there is no way it can be stepped on or tripped on.
High Arches
Step 1
Give your high arches more wiggle room for a more comfortable game. Thread the lace through the bottom eyelets straight across, so that there is an equal amount of lace on either side of the shoe.
Step 2
Push the left lace through the right eyelet, and then the right lace through the left eyelet, so you create an 'x' on the tongue of the shoe. Continue this pattern for the next two eyelets.
Step 3
Thread the laces straight up from the third eyelet to the fifth or sixth, skipping two or three eyelets at the center of the foot completely. You may need to test out which is more comfortable for you. From the fifth or sixth eyelet, go back to the 'x' diagonal pattern of lacing until you reach the top of the shoe.
Step 4
Tie the shoe behind the tongue when you reach the top, and tuck the ends under the tongue to keep them secure, "Sneaker Freaker" magazine recommends.


